Clair Obscur: Expedition 33 is a breath of fresh air for many RPG fans, but new systems mean there’s lots of stuff the game doesn’t tell you. Since 33 tips would be too much for one video, we’ve got 10 important Expedition 33 tips instead.
Don’t miss these important pages:

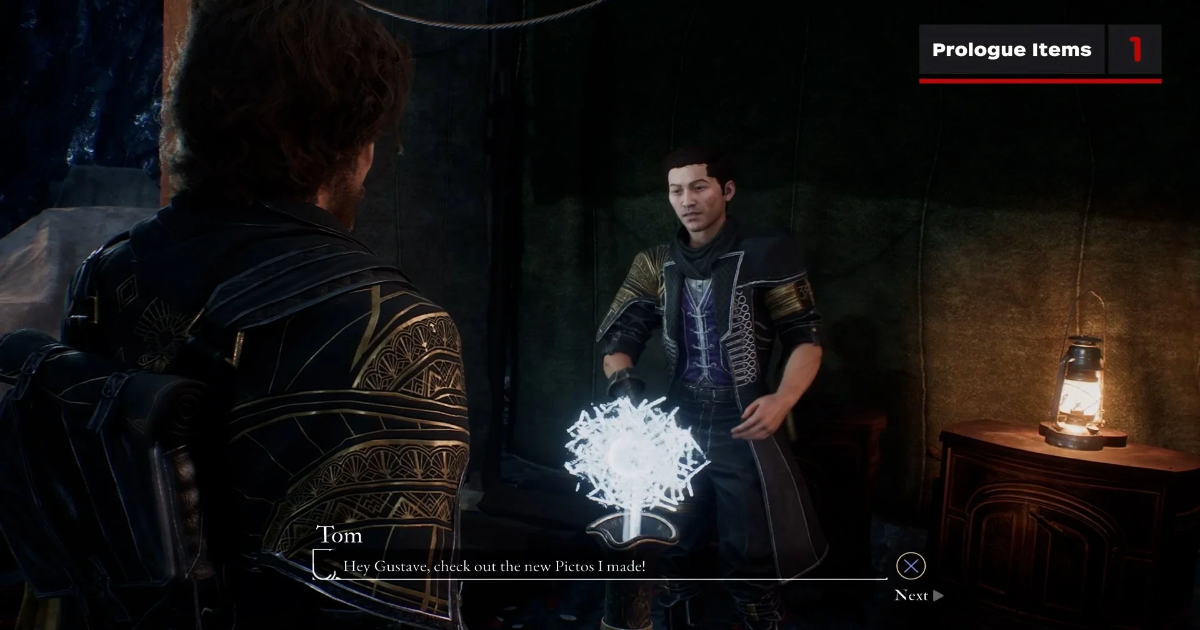
We’ll start at the very start of the game: as you run through the prologue with Gustave and Sophie, you’ll have an opportunity to talk to NPCs and engage in some optional battles. You should absolutely do this. You’ll receive a handful of helpful items that will boost your stats later on.
In the same vein, it’s worth fighting the mime near the shore.

This optional battle is tricky, but rewarding. Beyond the music record that you’ll get for winning, you’ll get a chance to practice those crucial counters and dodges. You’ll need those to beat the various mimes you’ll come across during the game — more on those later.
After the Gommage, you do have the opportunity to get all three tokens and purchase all three goods from the vendors. You start with one, and you can earn another by answering Antoine’s trivia questions. Don’t worry, you can keep guessing until you get them all right. For the third token, you’ll have to win your rematch against Maelle down at the dock. Same deal here: you can keep trying until you win.

If combat has taken its toll on you, good news: you can rest and fully replenish your party members at any of the Expedition Flags across the various areas.There is a catch: healing your party respawns enemies, so take that into account before you hit that rest button. Consider using one of your Chroma Elixirs to heal up instead. This has the same effect without respawning enemies, and the limited uses are replenished every time you do rest at the flag.
While you’re there, you can also allocate your individual attributes and skills with each level up, or use the flag to fast travel to another flag in the area. Just note that not every single flag is a viable fast travel point.

Navigating this world can be tricky, and that’s by design. There’s no shame in getting lost or forgetting which fast travel point is which, but if you want to get around easier, there’s a trick to it. The critical path is always lit by lamps and other sources of light. If you’re not sure where to go, look for them. And on the flipside, if you want to explore some of the optional parts of each area, go to the paths that aren’t lit.

Speaking of light, Lumina and Pictos could use a little more explanation. The game gives a tutorial, but there are some important strategies for equipping these that you need to know. A Pictos acts like an equippable relic that grants both passive stat boosts (shown on top) and a special benefit (shown on the bottom). These benefits add special effects to your combat moves, like burn damage on gunshots or extra AP from a dodge. After winning four battles with a Pictos equipped, the special benefit in the bottom text will become unlocked for the whole party — but this does not mean it’s active.
When looking at the Pictos menu, click the left stick to open your Luminas menu. You can allocate these however you see fit using your available Lumina Points, freely moving them around to gain the benefit of an unlocked Pictos without needing to equip it. However, this only gives the benefit shown in the Lumina menu, not the full passive boost to stats shown on each Pictos.

You’ll need to take into consideration the stat buffs from an equipped Pictos, the benefit of the unlocked Lumina, and the amount of Lumina Points needed to decide the right combination of gear.
One thing to keep in mind is that doubling up on certain effects or style is very inefficient. Spread those out between party members, and aim for a wide distribution of attack augments and passive bonuses.

Speaking of guns, the ones you wield in Clair Obscur have a ton of uses, and I don’t mean bullets in the chamber. In fact, I’m here to tell you that there are only a few circumstances in which you should empty your whole clip. Each bullet costs one pip of your AP, after all.
It’s wise to aim for an enemy’s weak point, but after that, it’s only worth dumping a whole clip if there’s a flying or floating enemy — they’ll dodge all your melee attacks. You can still make a melee attack or use a skill after firing your gun, but make sure you still have enough AP to pull off any special moves you might wanna do. If you have the Marking Shots Lumina equipped, you may also want to shoot until you apply a Mark if your heaviest hitter is next in the turn order, or if other party members have additional benefits from attacking Marked enemies.

Here’s the part where I contradict everything I just said in the last point. Well, sort of. There are several ways to deal with shielded enemies, and guns are a big part of that. When you see those shield icons over an enemy health bar, it will be able to take that many hits before receiving any real damage. Every bullet from your gun will knock off one shield icon, so if you want to sacrifice some AP, it’s worth it in certain encounters.
Beyond that, your best bets are status effects and multi-hit skills. If an enemy is burning, then they will automatically lose one shield at the start of their turn as the flames hit them again. As for skills, Gustave’s Lumiere Assault can be clutch here. Successful button presses extend his combo to five hits, and every single one of those will knock off a shield. In rare instances, some party members have skills that actually hit harder when enemies have shields equipped.

Now, breaking shields is not the same as upper case B Breaking an enemy, which puts them into a stunned state. Note the yellow meter under an enemy or boss’ health bar. Dealing damage will slowly build this meter up. When it’s full, using certain skills will then Break the enemy. Gustave’s Overcharge and Lune’s Rockslide are two examples of this — just check your skill descriptions. Hit an enemy with a Break skill when the meter is full, and they’ll be stunned, taking a huge chunk of damage and losing a whole turn to boot. Even better, they’ll keep taking increased damage while stunned.
If you can time this before a boss uses one of its signature skills, it’s a lifesaver. Beyond that, using Break techniques is the intended way to defeat the mimes you’ll find all across the world. They’re all optional fights with great loot, but their ultra high defense makes each battle a real challenge.

Speaking of optional bosses, there are a handful of them in every area. If you see a particularly imposing Nevron while exploring, you can engage or avoid it; it’s your call. The battles are tough, but you’ll earn new weapons, Pictos, and other important items if you win.
It’s also worth pointing out that you can run around some of these bosses to grab any loot that’s just sitting out there in the world. The same goes for many enemy encounters. Just make sure you steer very clear if that’s your intention — getting caught means fighting or fleeing. Chromatic Nevrons are particularly nasty if they catch you.

Speaking of Nevrons, they’re not all bad. You’ll come across some white-painted ones during your travels, and while you do have the option to attack, you’re better off helping them out. Each one is seeking a particular item, and it’s often found nearby. For example, the first nice Nevron is beside the Abandoned Expeditioner Camp flag in Spring Meadows. Head downhill in the next area, go past the bridge, and bust up the barrels to acquire a resin. Bring this back then shoot his lamp to light him up and complete the quest, earning you a second Healing Tint.
There are lots of weapons, Pictos, and resources to be gained from side quests like this, so if you see a Nevron in need, don’t just attack it on sight!
You might be wondering what to do with all those resources you’ll find in the early hours of the game. Colours of Lumina can grant extra Lumina points to your party members, and Chroma Catalysts are used for upgrading weapons, but you’ll have to play a portion of the first act before you can actually use them.
Once you get to the second, distinct area on the main continent, you’ll eventually unlock the ability to use all of those items during the story.